The Highlights Creator allows you to create a short video that summarizes the key moments of your project. You can build this highlights video using video snippets from recordings and custom media such as videos, images, or text.
1. Understand the Highlights Workspace
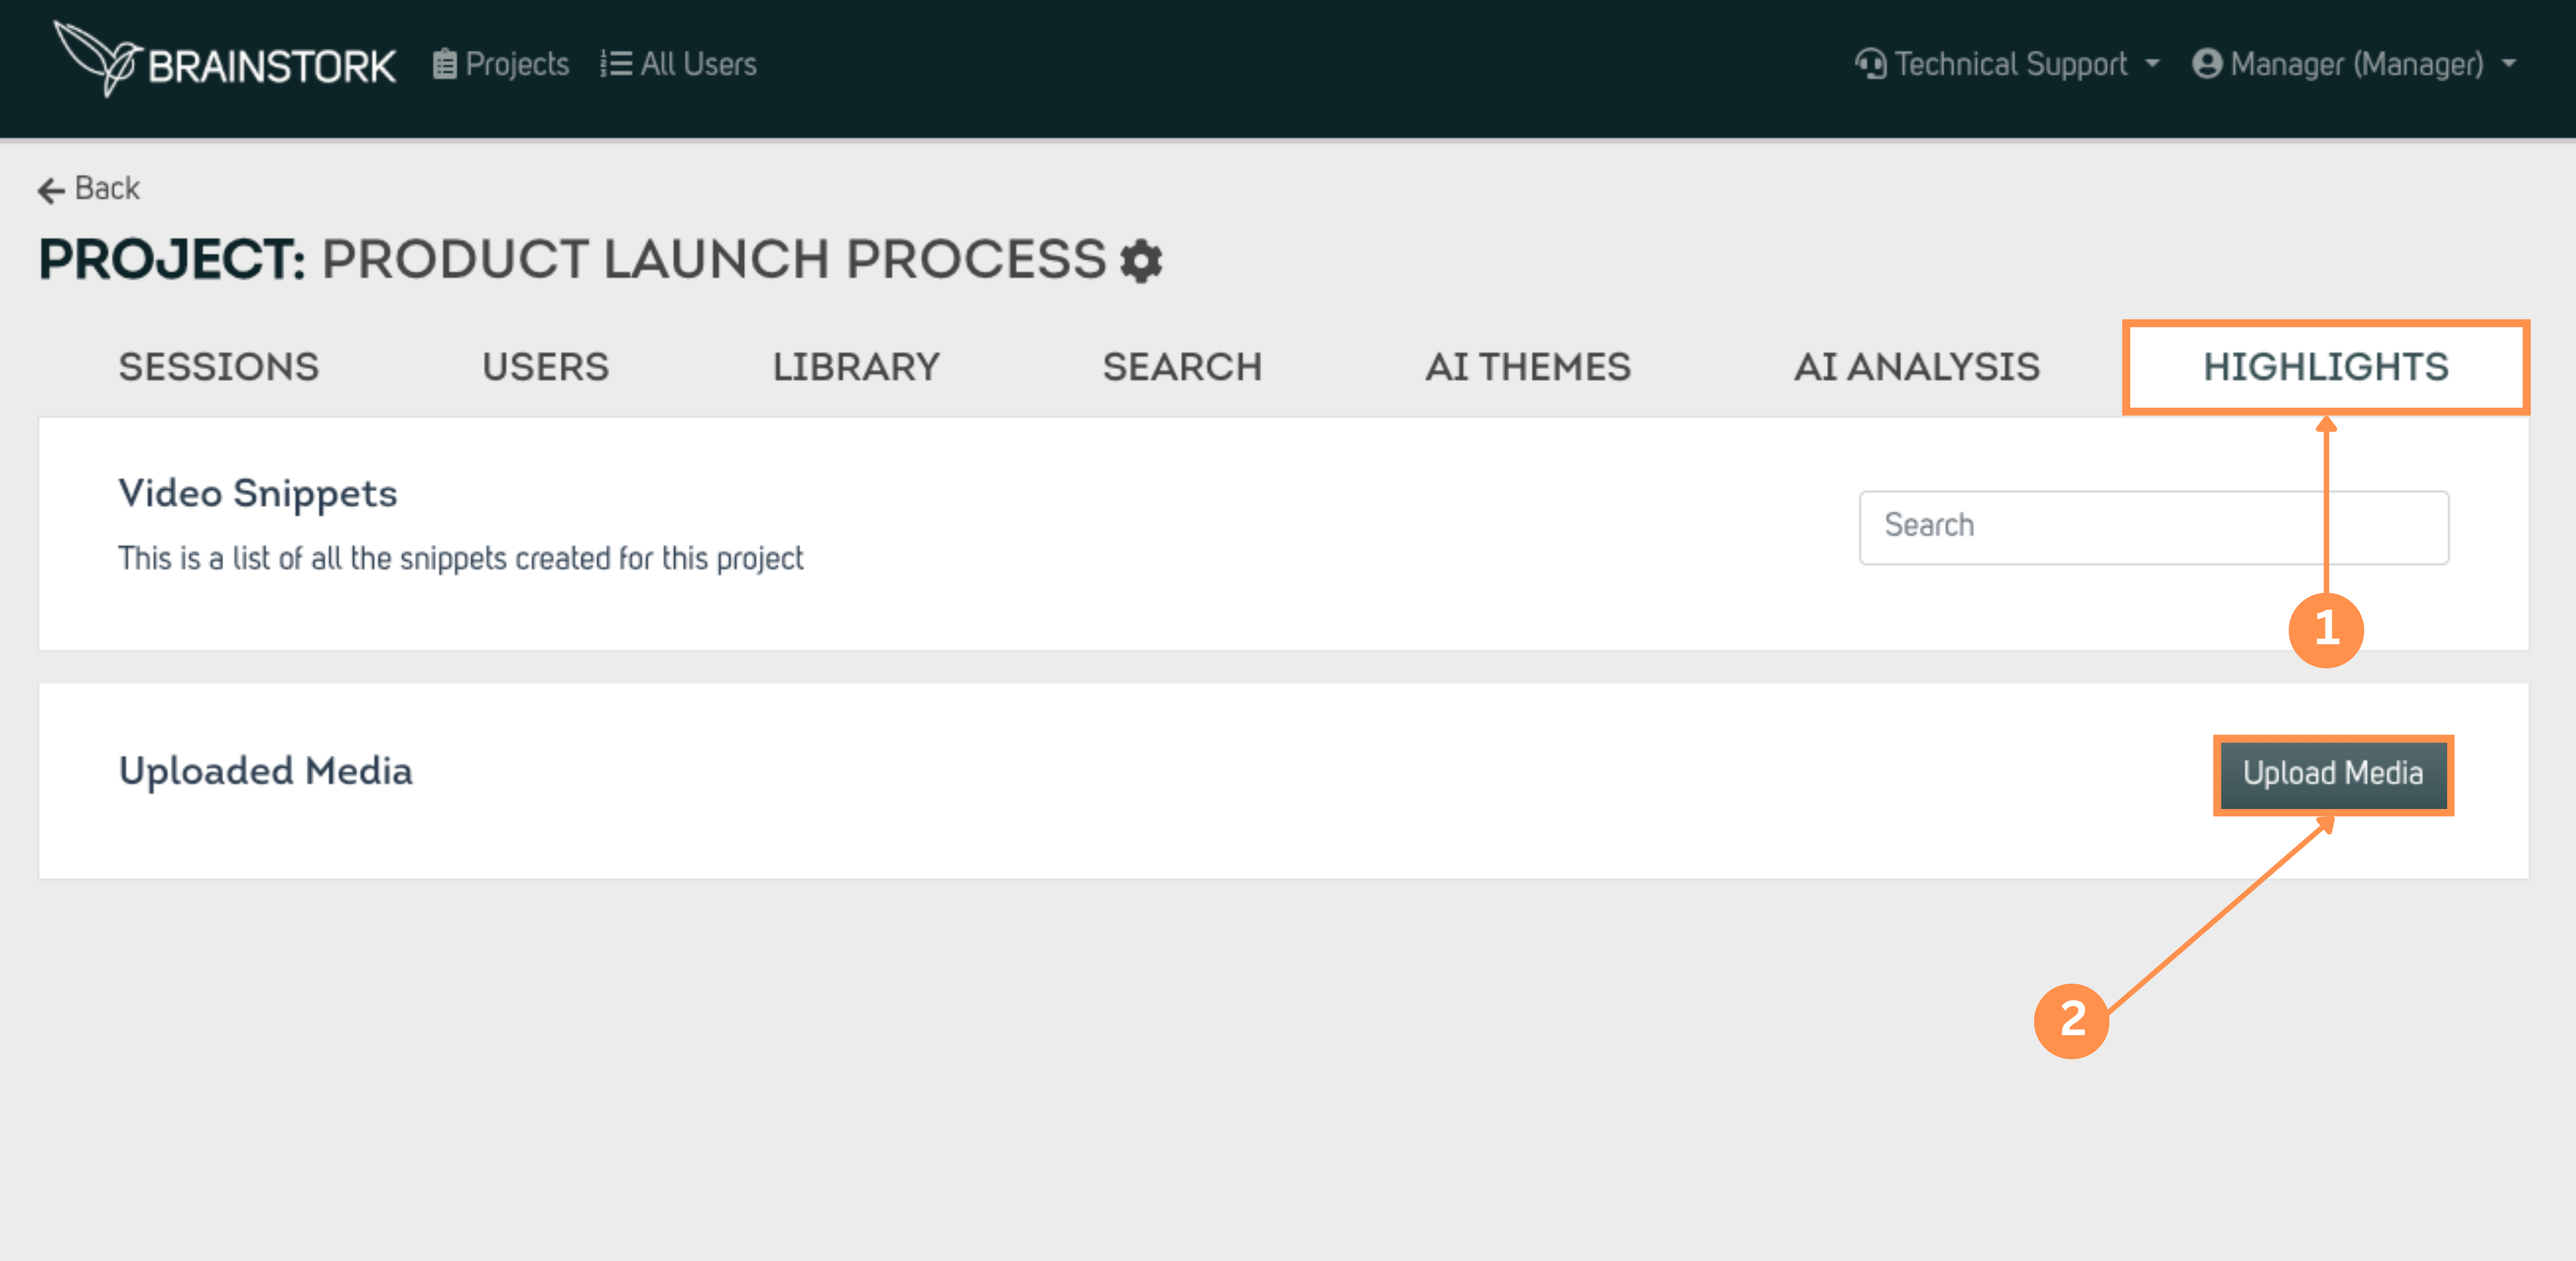
In the Highlights tab you will see two sections:
Video Snippets
A list of all snippets created from the project recordings.
Uploaded Media
A list of all media you have uploaded, including videos, images, and text.
Follow the steps below to create your highlights reel.
2. Prepare Your Video Snippets
To create highlights from recordings, you first need video snippets.
- Video snippets are short clips selected from your project recordings.
- These clips represent the key moments you want to include in your highlights video.
3. Upload Additional Media (Optional)
You can also enrich your highlights video with custom media such as videos, images, or text.
1. Go to the Highlights tab.
2. Click Upload Media.
 You can upload the following:
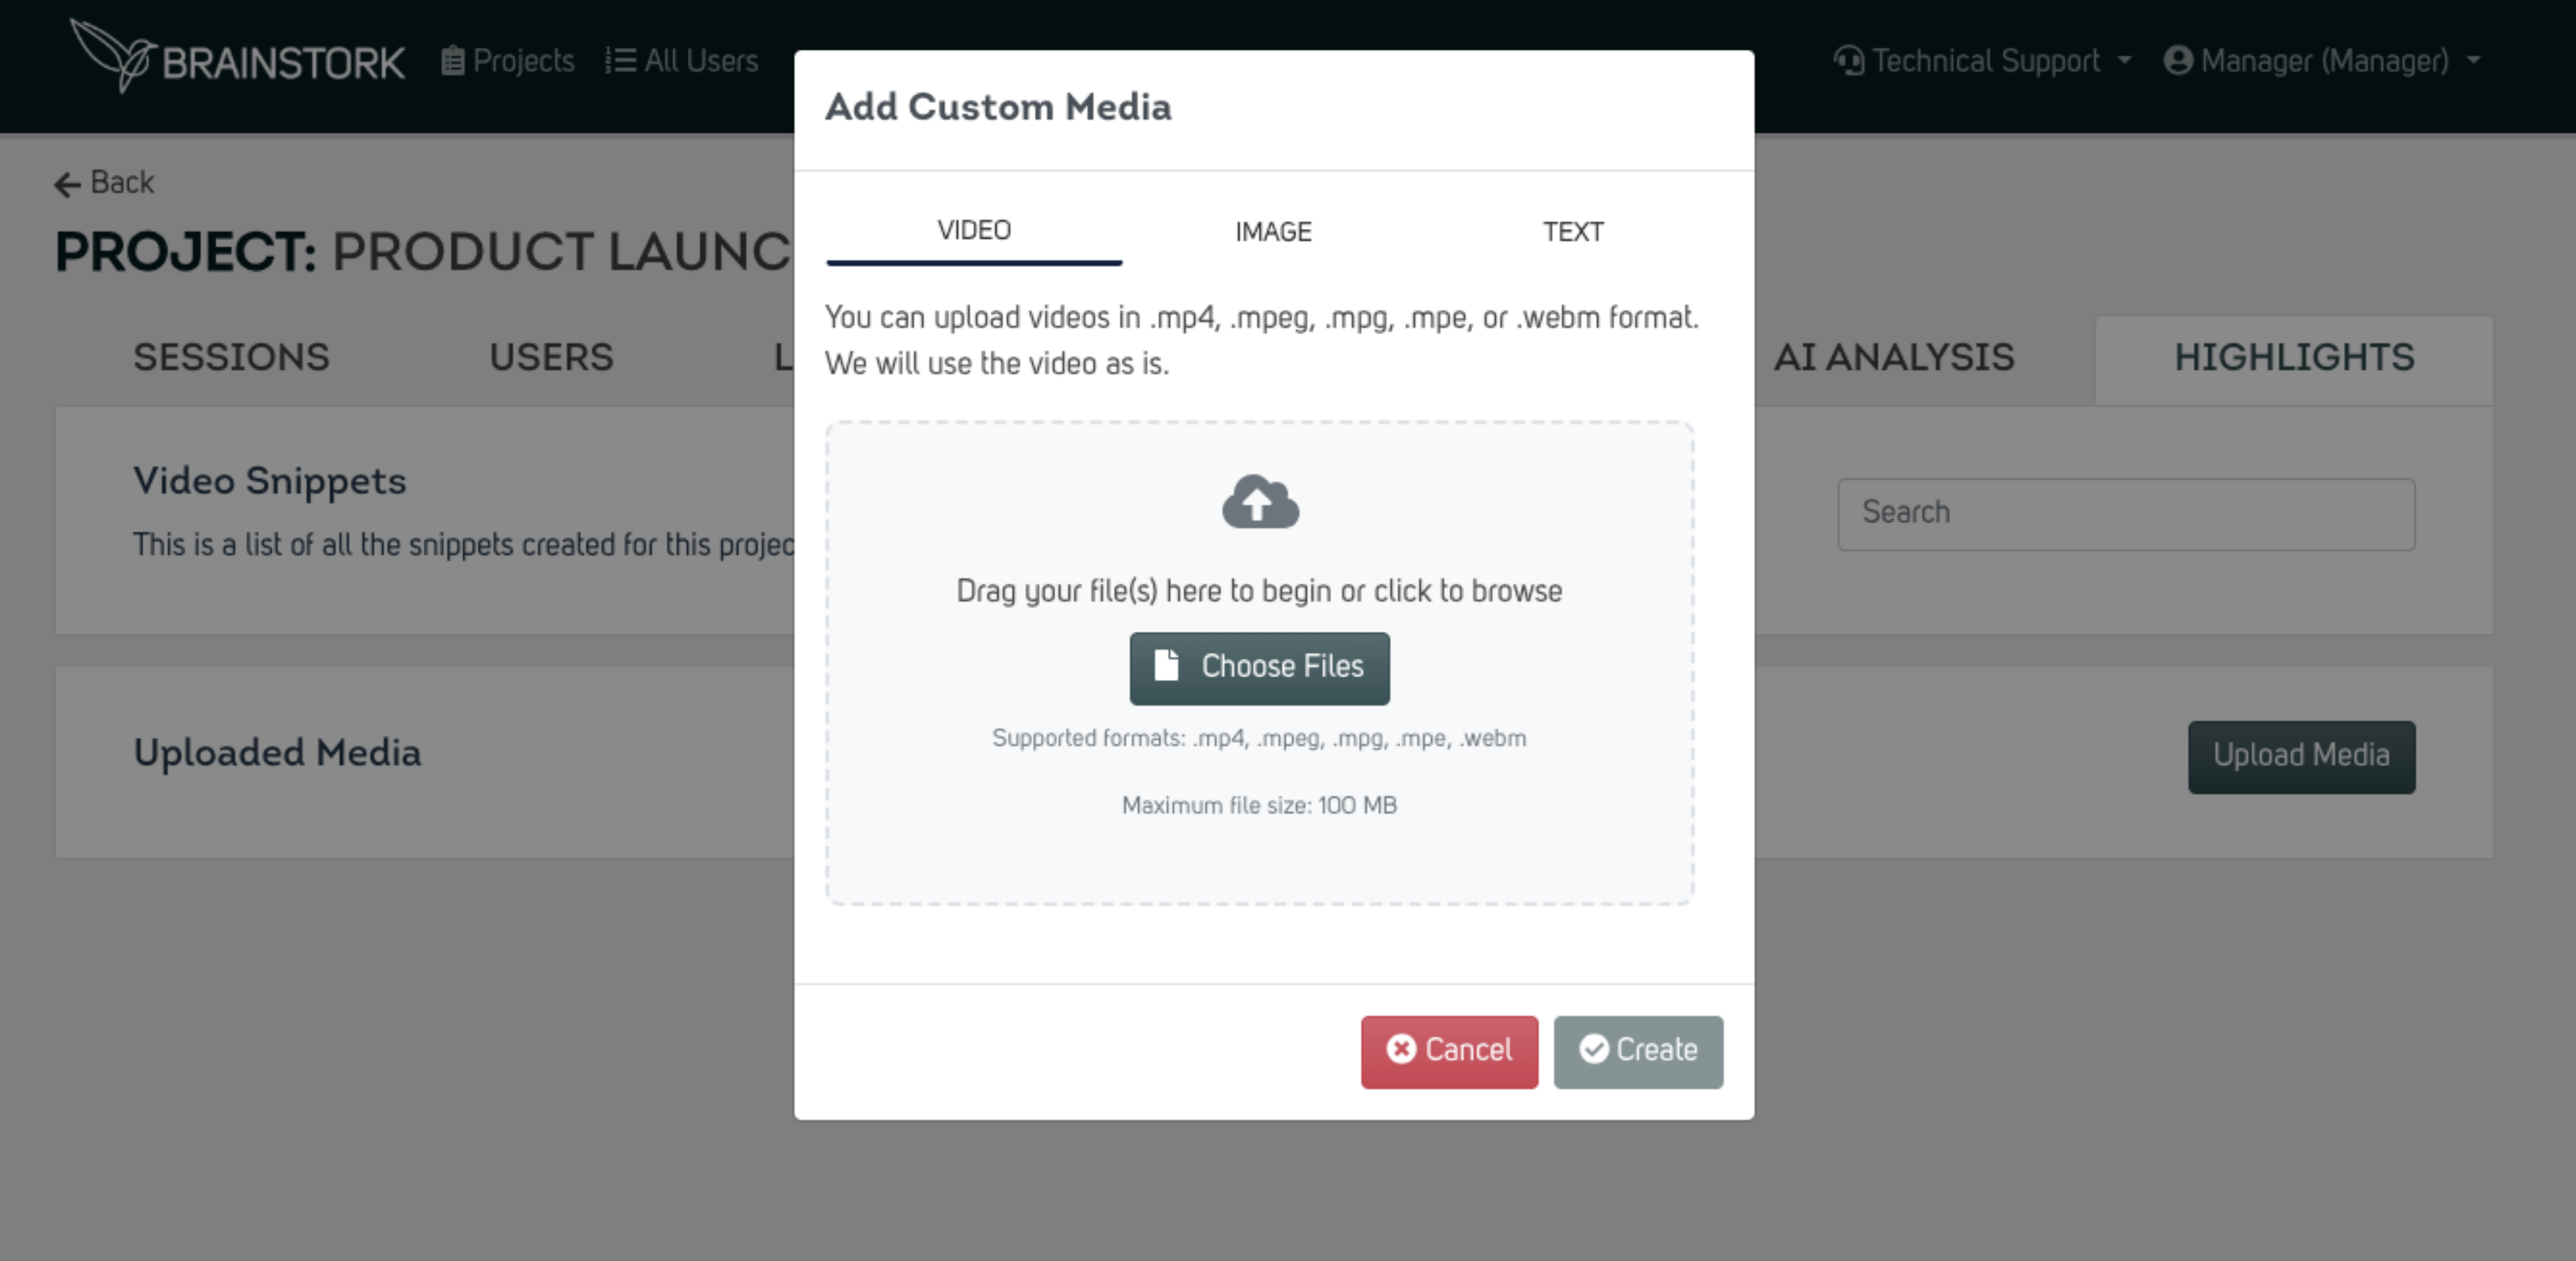
Videos
- Supported formats: MP4, MPEG, MPG, MPER, WEBM
- Maximum file size: 100 MB
- Upload by clicking Choose files or by dragging your files into the upload area.
Images
- Supported formats: JPEG, JPG, PNG
- After uploading an image, specify how long it should appear in the highlights video by entering the duration in seconds.
Text
- Enter your text in the Text to insert field.
- Set the duration to define how long the text appears in the final video.
4. Add Content to the Highlights Timeline
To build your highlights video:
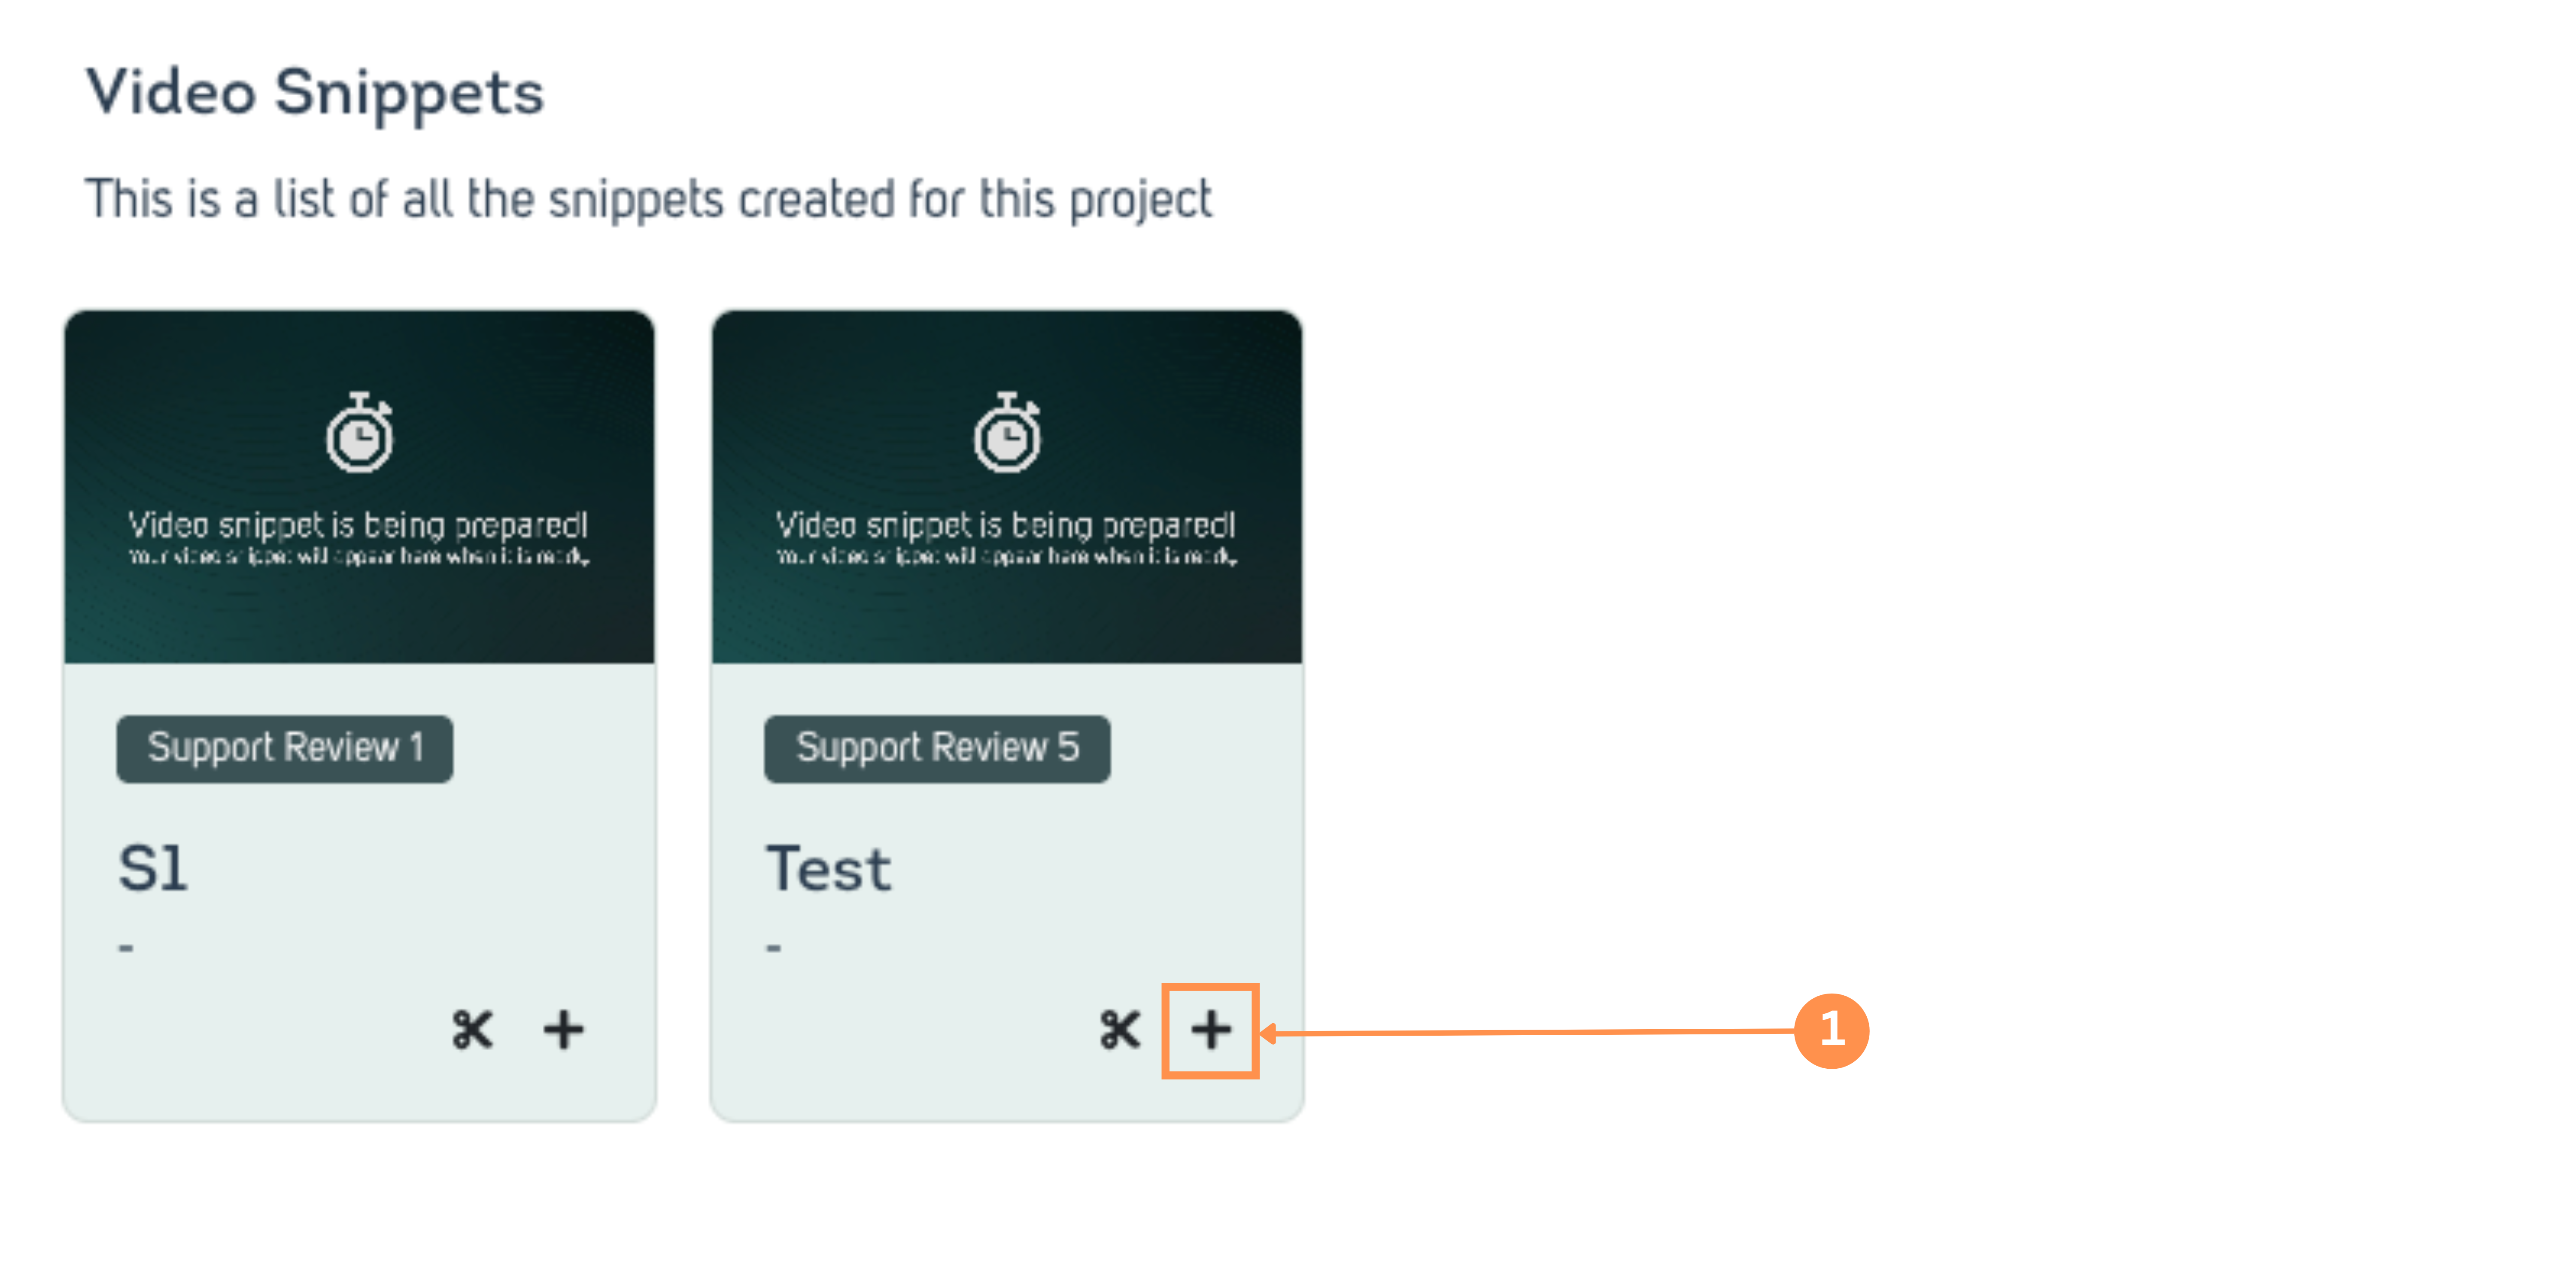
1. Click the "+" icon next to a video snippet or uploaded media.
.png)
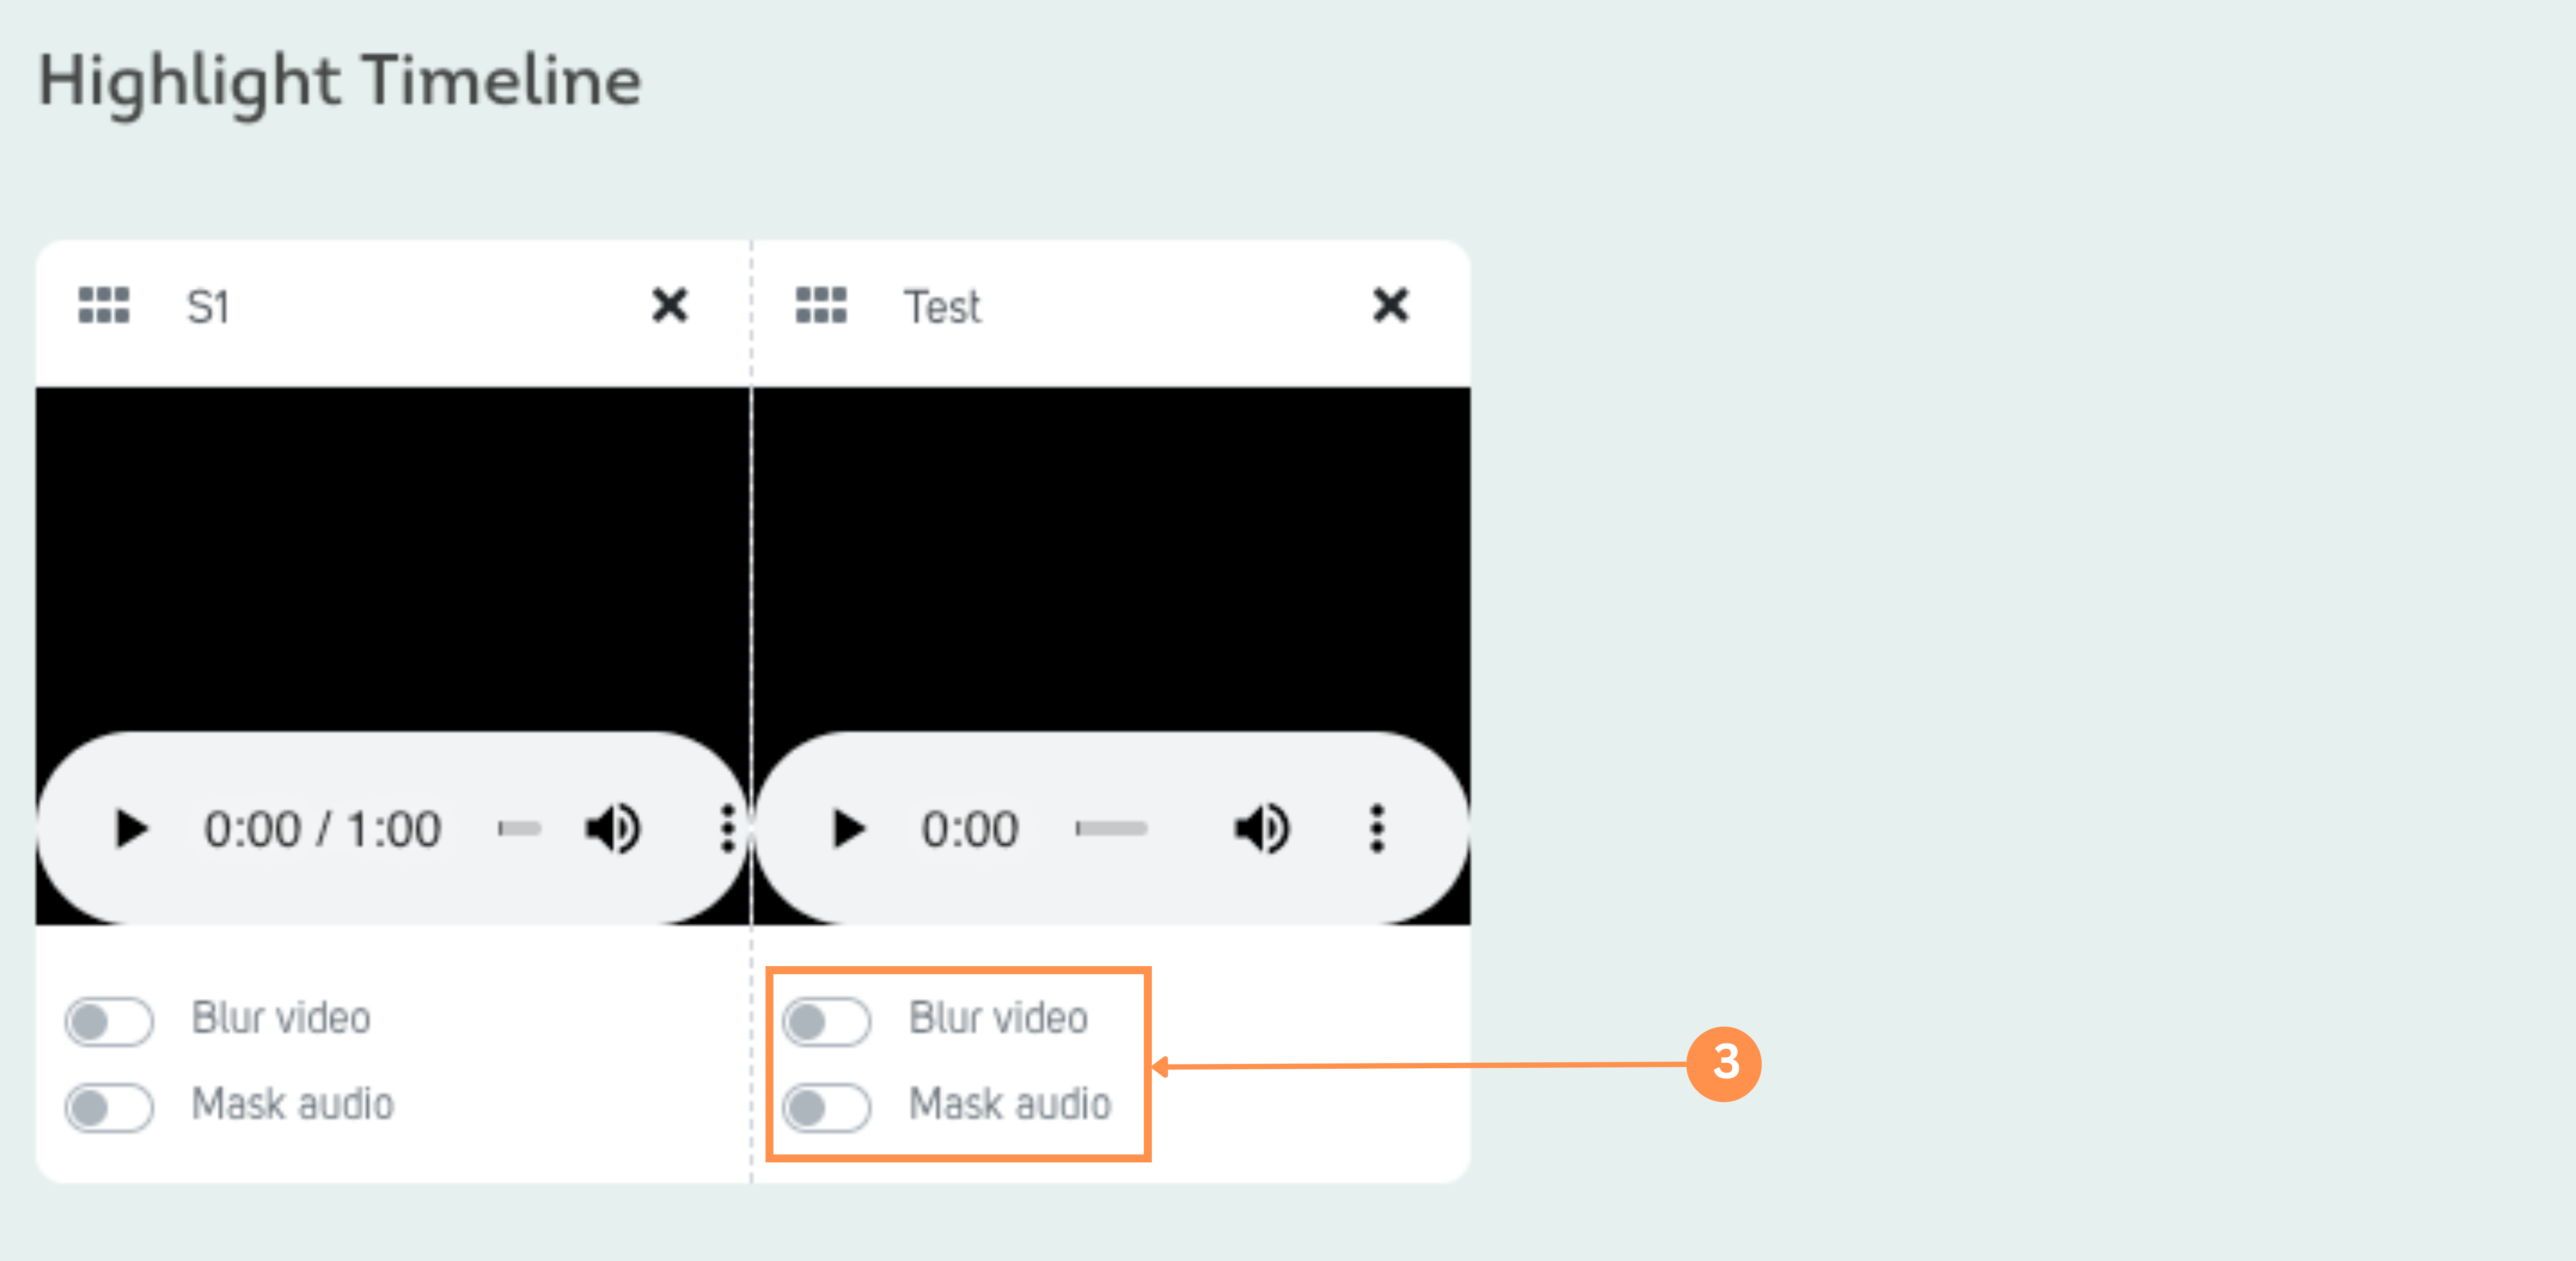
2. The item will be added to the Highlights Timeline at the bottom of the page.
3. In the timeline you can also blur video or mask audio if necessary.
.png)
5. Arrange the Timeline
Once your content is added:
- Drag and drop items in the timeline to change their order.
- Arrange them in the sequence you want them to appear in the final video.
6. Preview Your Highlights
Before creating the final video:
Click Preview. A preview window will open so you can review the highlights video. Make any adjustments if necessary.
7. Create the Highlights Reel
When you are satisfied with the preview:
Click Create Reel. A pop-up window will appear where you need to enter a title and description for your highlights reel. Click Create to start generating the video.
Your highlights reel will then appear in the Highlight Reels section under the Highlights tab.
Please note that it may take a short time for the system to process the snippets and prepare the final highlights video. Once processing is complete, the reel will be ready to view and download.
