Once your project manager or manager adds you to the project, as a recruiter, you have the authority to create sessions, view and share the session link, and make edits to sessions.
Here are the steps to create a new session and share its invitation with participants:
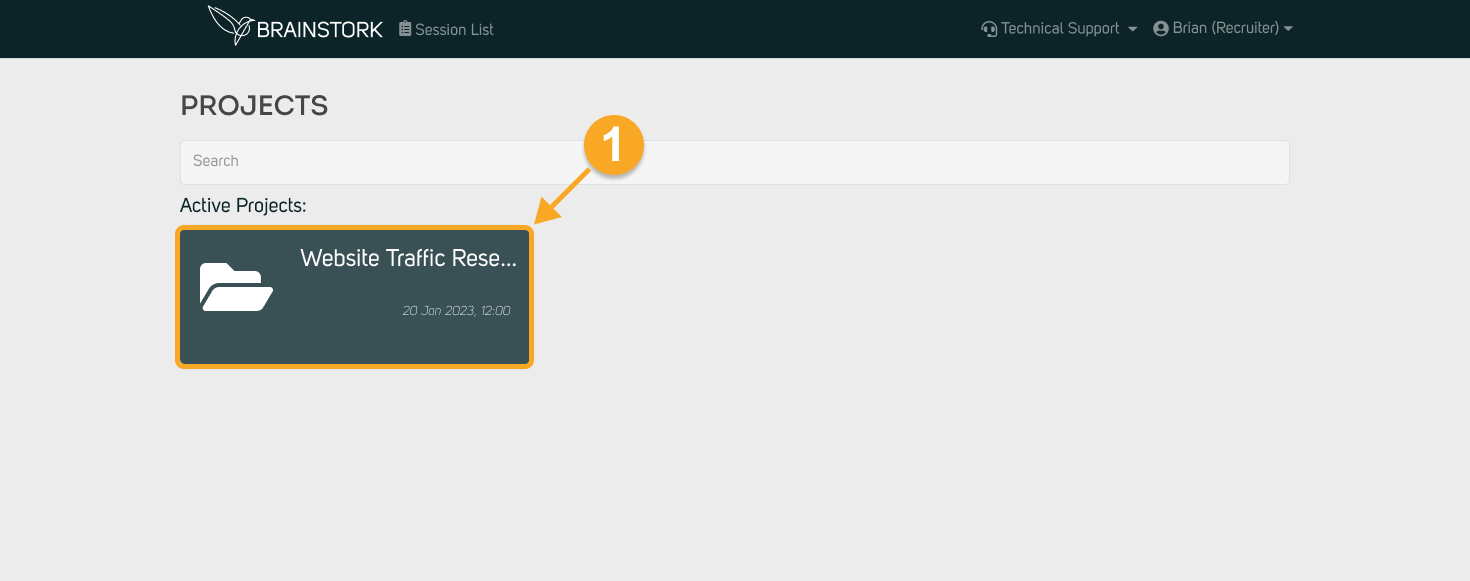
1. Open the desired project.
2. Click on the "Create New Session" button.

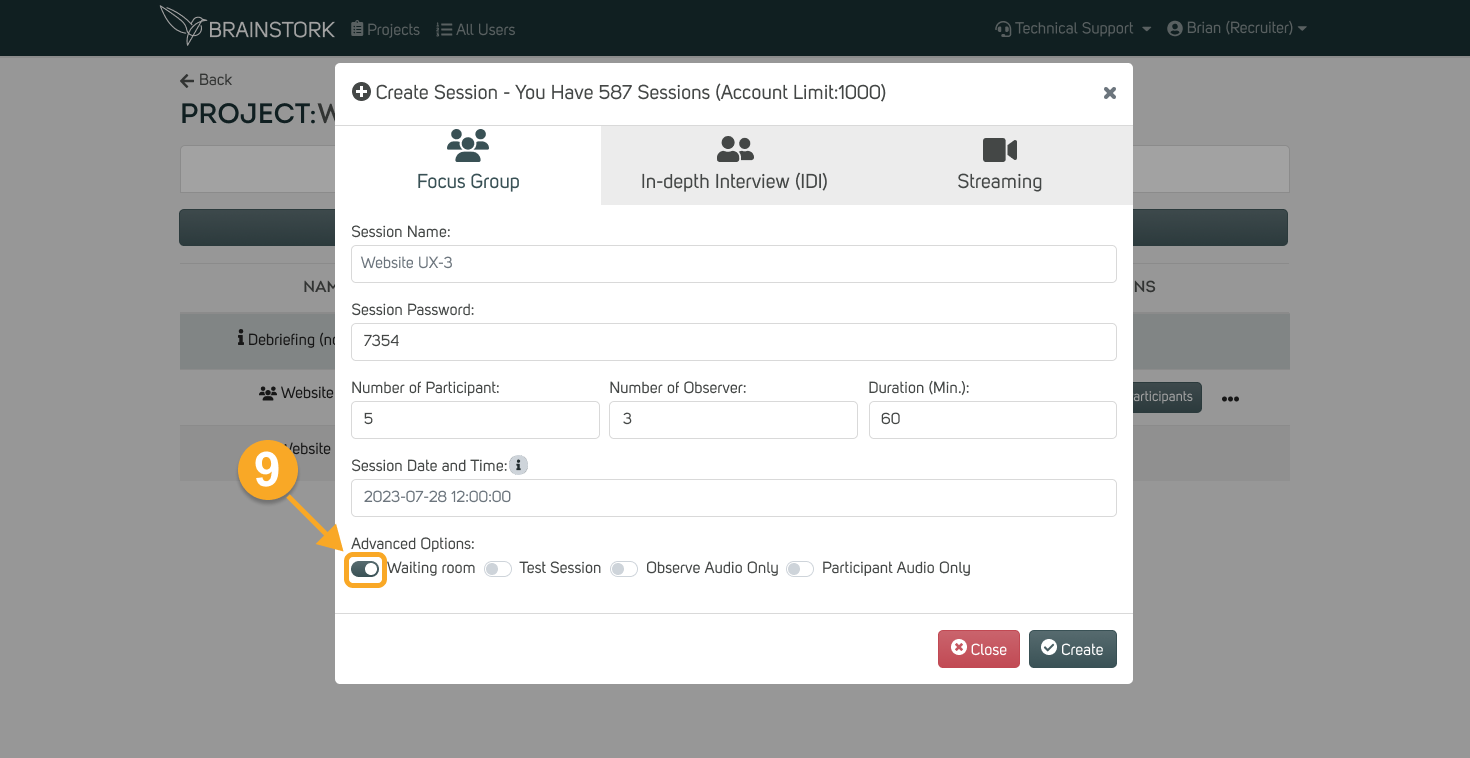
3. Choose the type of session.
4. Enter the session name.
5. Specify the number of participants.
6. Specify the number of observers.
7. Pick the length of your session.
8. Set the session date and time.

9. You can activate the waiting room to prevent direct participant entry.
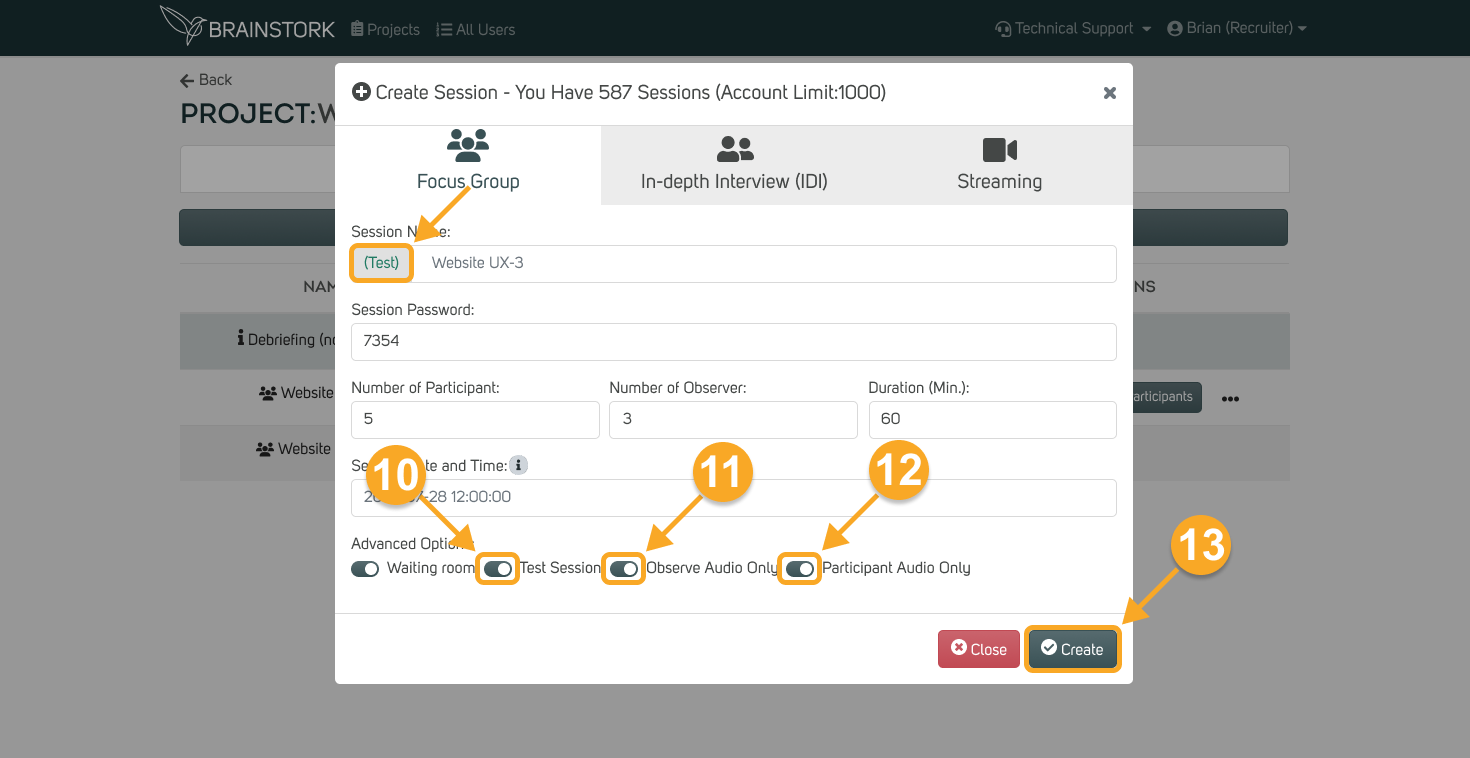
10. To test Brainstork with new users, turn on the "Test Session". Once activated, you'll see the word "Test" displayed.
11. You can enable the "Observer Audio Only" option.
12. To let participants join the session with audio only, you can activate the "Participant Audio Only" option.
13. Click "Create" to create the session.
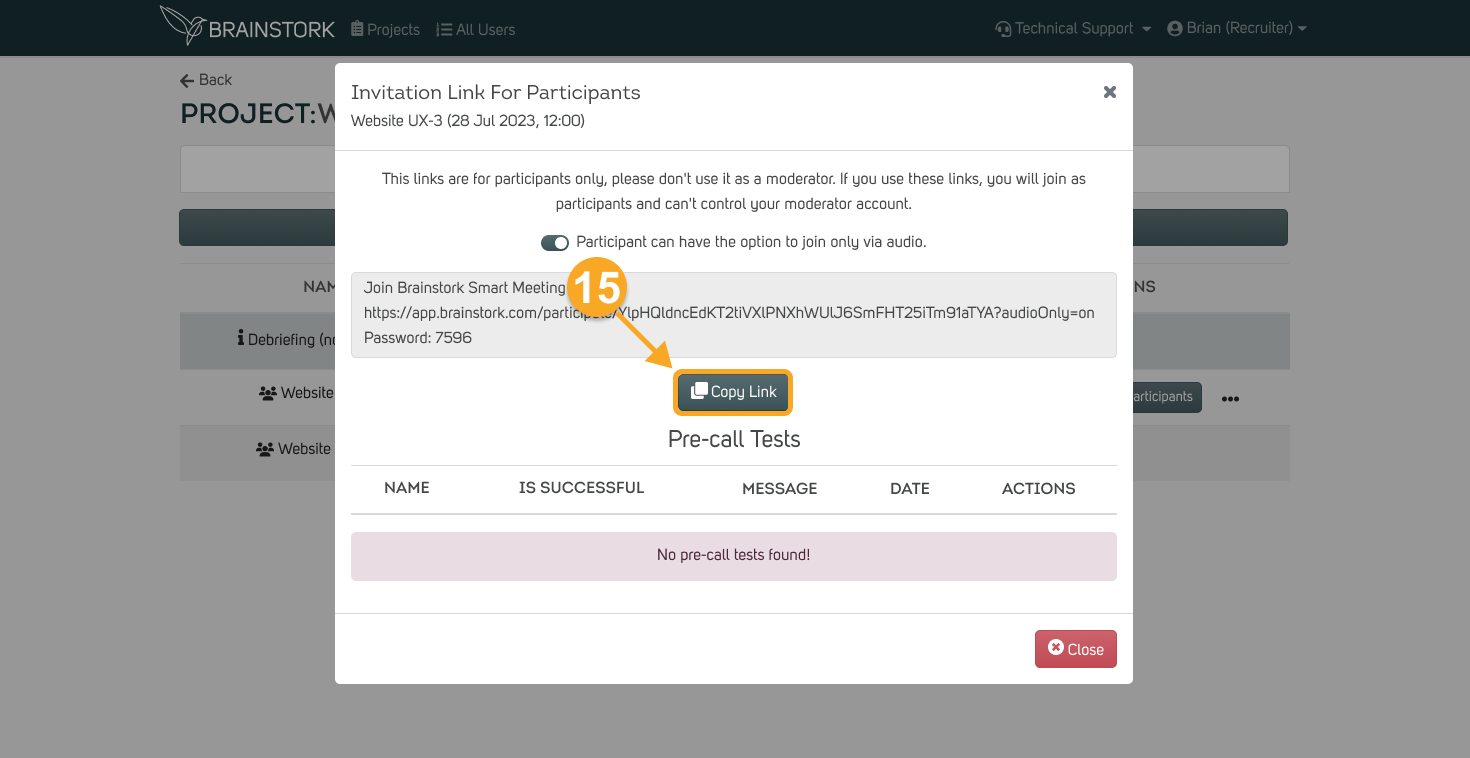
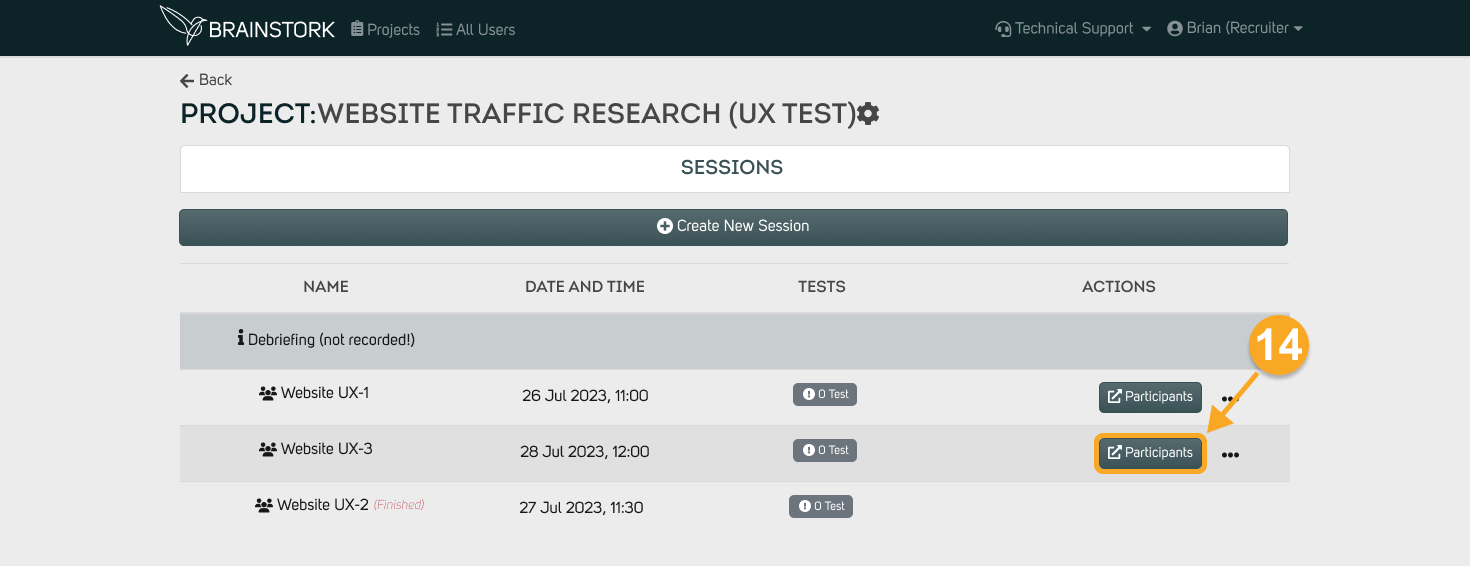
14. Your Brainstork Session has been successfully created! Now you can click the "Participants" button to view the invitation link.
15. Click on "Copy Link" to share the invitation link and password with participants.